


Introduction
Let’s learn about installing Node.js & NPM on both Mac and Windows. Node.js is a tool that allows you to create stunning web applications, whereas NPM is the package manager for Node.js that allows you to access a large variety of additional tools & libraries.
Here we will learn about the detailed process of installing Node.js on Mac & Windows, but before that let’s have a basic introduction to JavaScript. It is one of the most preferred languages used in software development. Most developers use it to create interactive websites, due to its efficient & fast nature it can also be used to manage the server side of the website. This makes it preferable to make a complete web application.
Node.js lets you run & use JavaScript outside of a web browser, with node.js you can create server-side applications using JavaScript. It includes everything you need to run a JavaScript program. It contains over 50,000 pages available through NPM making development easy & cost-effective.
Here is the step-by-step process to install Node.js on your Mac or Windows
Prerequisites
-
RAM 8GB
-
CPU Intel Core i5TM i5 HQ CPU @2.50 GHz
-
ROM 256 GB
How to Install Node.js and NPM on Windows?
To create an application using Node.js we have to install Node.js on your Windows system.
Process of installation
Step-1
Download the Installer- Visit the Node.js official website to download the Windows installer, make sure you have downloaded the latest version of Node.js. 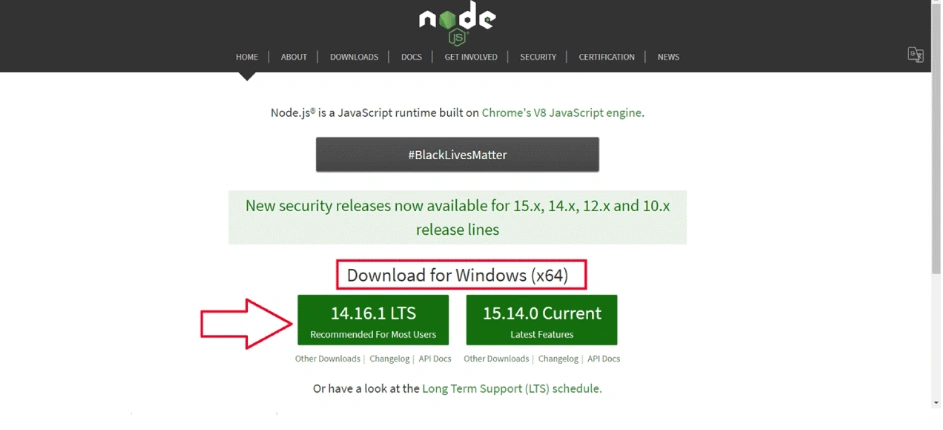
Step-2
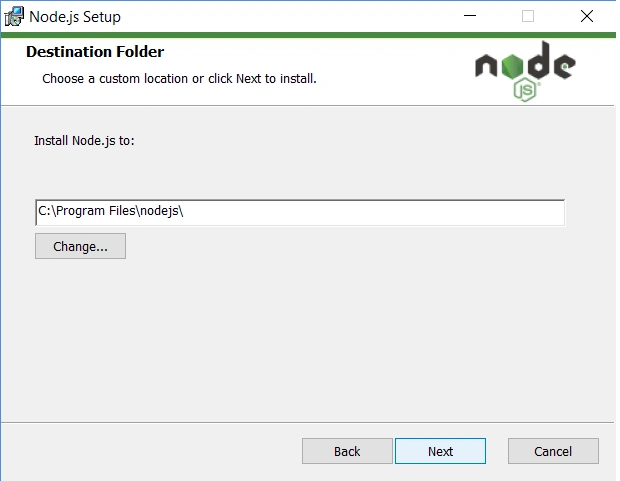
Install Node.js & NPM- choose the desired path where you want to install Node.js.
Once you choose the path, double-click to install.msi binary file to start the installation process
After that, you get a welcome message on your screen click the next button, and by clicking the next button you will get a custom page setup on the screen.
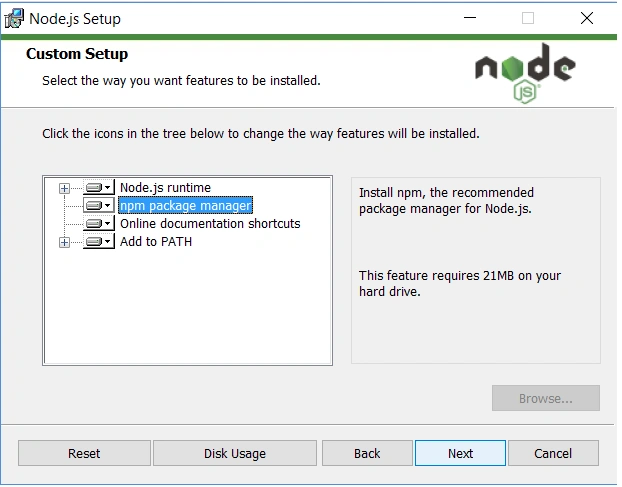
Choose the NPM package instead of the default Node.js runtime, this way you can install both Node.js & NPM at the same time.
You should also have enough space to install it, the following features will be installed by default with it:-
-
Node.js runtime
-
Npm package manager
-
Online documentation shortcuts
-
Add to path
The setup is ready to install Node and NPM, click the install button
Step-3
Verify Version:- to verify whether you have installed everything correctly or not we can do it with “Command Prompt” 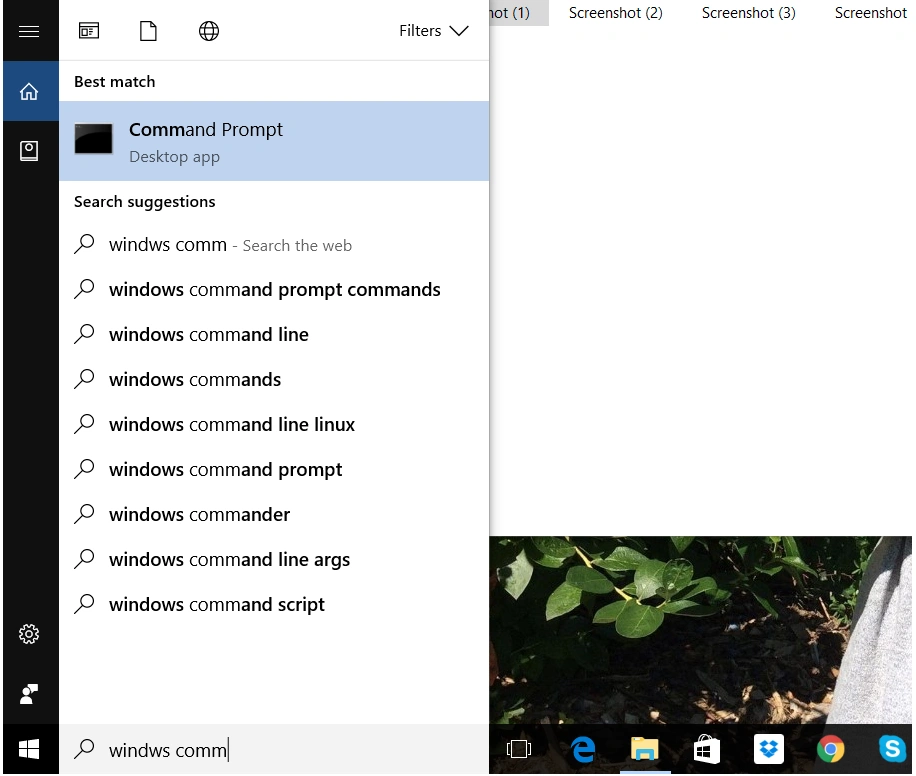
Command Prompt window will appear on the screen.
To confirm Node installation, type node -v command.
To confirm NPM installation, type npm -v command.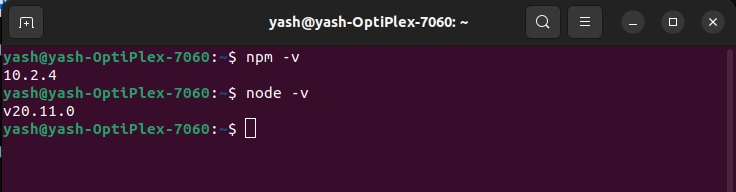
You can maybe see different numbers but it’s totally normal as Node and NPM updated frequently.
Here the installation process for widows is completed let’s learn the installation process of Node.js & NPM on Mac.
Installation process for Mac
let’s understand the process of Node.js and NPM installation for MacOS.
Install Node Using .pkg Installer
For Mac, Node provides a .pkg installer. Apart from this, we can also download it from its official website.
Step-1
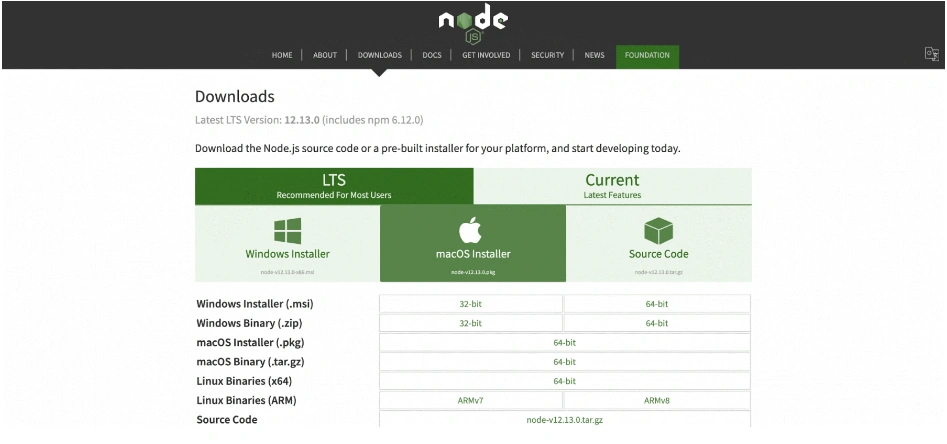
Download the .pkg installer:-
download the .pkg installer by clicking on the macOS installer, and make sure that it is downloaded in your desired location.
Step-2
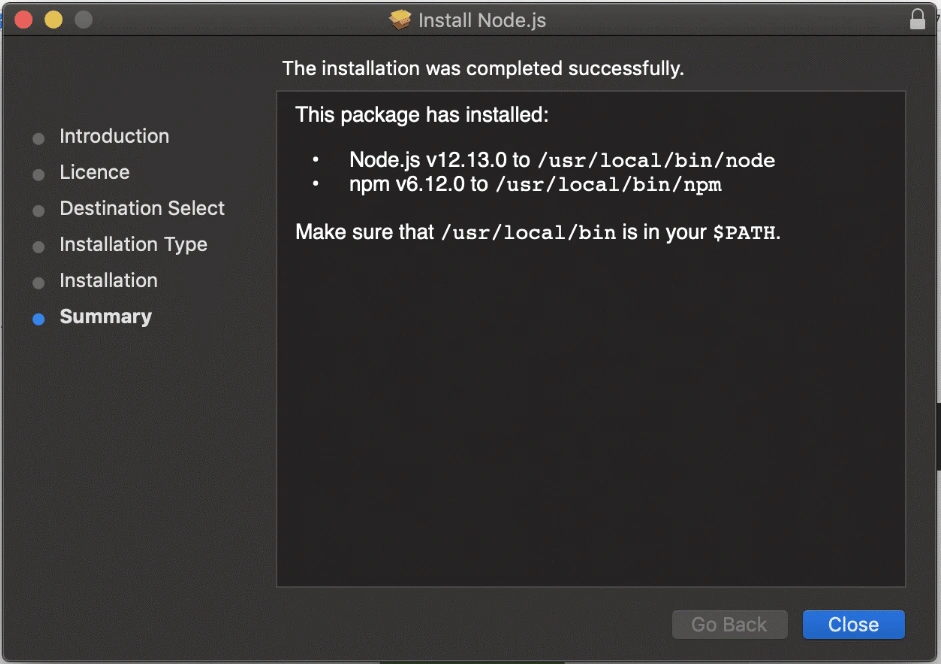
Run Node.js installer:- once downloaded your installer is ready to run, for a better understanding let's have an explanation here.
Introduction > Continue License > Select Continue > Agree Installation Type > Install > Authenticate with your Mac to allow the Installation > Install Software Summary > Close
Step-3
Verify Node.js Installation:- You have to run the following command in your terminal to ensure that you have properly installed Node.js in your macOS.
node -v node -v // The command we ran - tests the version of Node.js that's currently installed v12.13.0 // The version of Node.js that's installed. It can be some other version.
Step-4
Update NPM Version:- Here we have to update the version of NPM, Node.js doesn't do it automatically
By writing the following command your npm version will updated
$ sudo npm install npm --global // Update thenpmCLI client
Here is the process to install is successfully completed, Let’s explore further about it.
Set NODE HOME in the Environment Variable
Now it’s time to ensure that the NODE path is set in the path variable, for that run the given command in your terminal for Mac or Linux system.
*export PATH=/usr/local/git/bin:/usr/local/bin:$PATH*
Here is the default path where the NODE will be installed:-
*/usr/local/bin*
It’s just preferable to write this command in .bash_profile or .zshrc. However, it depends on which terminal you are using. This will ensure that the path settings for Node.js and NPM stay on your system and are not visible in all terminal windows.
To permanently add the details in .bash_profile, run The following command:-
echo 'export PATH=/usr/local/bin:$PATH' >>~/.bash\_profile
If you want to make it available for all users on the system run the given code. source ~/.bashrc
How to Install Node Using Homebrew?
Let’s go through a brief of homebrew, Homebrew is a free, open-source tool that makes installing software on macOS and Linux easy. It puts all the installed packages in their own directory and stores their files in the /usr/local folder.
After installing Homebrew let's start the process of installation.
Step-1
Install Node.js and NPM:- It's just a cup of tea to install Node.js & NPM once you have Homebrew, it lets you download, unpack, and install Node and NPM on your device.
Run the given command in your terminal.
brew install node
Some files will be downloaded. So, let’s install them.
Step-2
Verify installation:- It is very simple to verify the installation of Node and NPM, you just have to type the below-given command and run it in your terminal.
For Node: node -v
For NPM: npm -v
Homebrew will update your Node and NPM versions just ensure your Homebrew has the latest Node package version.
If you do not have the latest version then run the following command to update the Homebrew:- brew update
Run the following command to update the version of Node. It will update Node and NPM to the latest version.:- brew upgrade node
Here the process of installation is successfully completed.
How to Install Node Using NVM – Node Version Manager?
Follow the given steps to install Node using NVM
Step-1
Download NVM with install script:- You will have 2 choices to install NVM
With cURL:
Curl -o- https://raw.githubusercontent.com/creationix/nvm/v0.33.0/install.sh | bash // Installation using cURL
With wget:
wget -qO- https://raw.githubusercontent.com/creationix/nvm/v0.33.0/install.sh | bash // Installation using Wget
You can download & install NVM from any of these methods.
Step-2
Verify Installation:-
NVM can be verified with the following command:- nvm --version
The result for this command will be similar to this:-
0.33.0 # The current version of nvm - yours may differ!
It is suggested that one should add this command to either .zshrc or .bash_profile, depending on your shell, to ensure the PATH exports stay on your system across all terminal instances.
To add the details in the .bash_profile file permanently, run the given command:- echo 'export PATH=/usr/local/bin:$PATH' >>~/.bash\_profile
If you want to make it available for all the users run the following command:- source ~/.bashrc
Step-3
Install Node using NVM:- To install the latest version of None.js, run the following command:- nvm install node
you can also select all the available Node versions if you want to install a specific version of Node.js.
Run the given command
nvm ls-remote // This will list down all the available Node version
nvm install v12.15.0 // This will install Node 12.15.0
Here we are ready to check the installation of different versions of the Node Framework and which specific versions are used, to do this run the following command.
nvm ls // This will list all the Node versions installed on your machine.
nvm use v12.15.0 // This will set the Node version to 12.15.0
To verify the existing version give the following command
node --version
Your Node installation is complete. You can now start developing your Node application.
Key Pointers to Consider
-
Make sure to install the latest version labeled LTS. you may also get other versions also which have not been tested with npm.
-
You can use .msi installer from the official website of the node for your Windows system.
-
For macOS, you can install Node.js using .pkg installer from the official website of Node.
-
We can also use Homebrew to install Node.js on macOS
-
Use NVM to easily install and maintain different versions of Node on the same device.